Stop Installing NGINX Ingress Controller Manually on AKS. Here’s a Better Way
Jun 08, 2025Deploying applications in Kubernetes can be tricky, especially when it comes to managing NGINX Ingress Controllers on Azure Kubernetes Service (AKS).
If you are installing NGINX Ingress Controllers manually with Helm charts, you are doing it wrong.
In this article, I'll show you how the AKS Application Routing Add-On can save you time and effort, making your deployment process a breeze.
By the end of the article, you will have learned how to implement the AKS Application Routing Add-On effectively, utilizing Infrastructure as Code using Terraform, saving time and reducing complexity in your Kubernetes deployments.
The Problem with Manual NGINX Ingress Controller
Complexity: Installing the NGINX Ingress Controller manually means constant struggle with complex configurations, Helm charts, and constant updates. This can be a real headache, taking your focus away from what’s important: building great features!
Maintenance Burden: When you manually handle the NGINX Ingress, you face the ongoing hassle of updates and configuration management. This maintenance burden takes up your time and can distract you from enhancing your application’s performance.
About Application Routing Add-On
The Application Routing Add-On for AKS is a smart, fully managed service that makes managing Ingress controllers very simple. By using this add-on, you can let Azure take care of the setup and maintenance, freeing you up to focus on deploying your applications.
Benefits of the Application Routing Add-On:
- Easy Configuration: Setup is quick! Azure manages all configurations through the cluster.
- Automatic Updates: The service keeps the Ingress Controller updated, reducing security risks.
- Integrated DNS Management: The add-on seamlessly integrates with Azure DNS for both public and private zones.
Key Resources
Prerequisites
Before beginning, ensure you have:
- Azure CLI installed and authenticated
- Terraform installed
- Proper Azure permissions (Owner or Contributor + User Access Administrator)
Step 1: Terraform Code
Deploying the Application Routing Add-On can be easily automated with the Terraform configuration provided in this Git repo. Below is an outline of the necessary Terraform code to get started:
- Define Provider and Subscription
- Create Resource Groups and AKS Cluster
- Enable Application Routing Add-On
Clone the project repo and inspect the files
git clone https://github.com/rceraline/devops.git
cd devops/2025-05-aks-web-app-addon
Folders Content
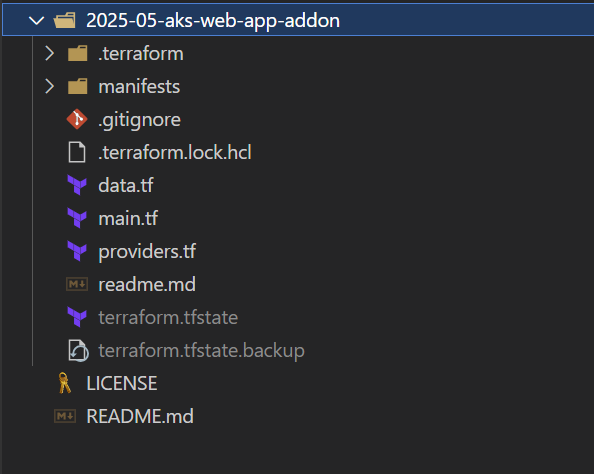
Figure 1: Git repository with the Terraform configuration files and Kubernetes Command + Script
Terraform Code Breakdown
Here’s a detailed overview of what each file configures:
data.tf
data "azurerm_client_config" "current" {}
This section retrieves the Azure client configuration for the current authenticated user. We’ll use it later to access the Tenant ID for the Key Vault creation or to retrieve the current User ID for role assignment.
main.tf
locals {
  aks_name             = "aks-addon-01"
  key_vault_name       = "kv20250524"
  resource_group_name  = "rg-aks-addon-01"
  custom_dns_zone_name = "sometestcustomdomain.com"
}

resource "azurerm_resource_group" "rg" {
  name     = local.resource_group_name
  location = "Canada Central"
}

## Key Vault
resource "azurerm_key_vault" "kv" {
  name                        = local.key_vault_name
  location                    = azurerm_resource_group.rg.location
  resource_group_name         = azurerm_resource_group.rg.name
  enabled_for_disk_encryption = true
  tenant_id                   = data.azurerm_client_config.current.tenant_id
  soft_delete_retention_days  = 7
  purge_protection_enabled    = false

  sku_name = "standard"

  enable_rbac_authorization = true
}

resource "azurerm_role_assignment" "administrator" {
  scope                = azurerm_key_vault.kv.id
  role_definition_name = "Key Vault Administrator"
  principal_id         = data.azurerm_client_config.current.object_id
}

## Identities
resource "azurerm_user_assigned_identity" "controlplane" {
  location            = azurerm_resource_group.rg.location
  name                = "id-controlplane-01"
  resource_group_name = azurerm_resource_group.rg.name
}

resource "azurerm_role_assignment" "controlplane_resourcegroup_contributor" {
  scope                = azurerm_resource_group.rg.id
  role_definition_name = "Contributor"
  principal_id         = azurerm_user_assigned_identity.controlplane.principal_id
}

resource "azurerm_role_assignment" "web_app_routing_private_dns_zone" {
  scope                = azurerm_dns_zone.domain.id
  role_definition_name = "DNS Zone Contributor"
  principal_id         = azurerm_kubernetes_cluster.aks.web_app_routing[0].web_app_routing_identity[0].object_id
}

resource "azurerm_role_assignment" "web_app_routing_key_vault_user" {
  scope                = azurerm_key_vault.kv.id
  role_definition_name = "Key Vault Secrets User"
  principal_id         = azurerm_kubernetes_cluster.aks.web_app_routing[0].web_app_routing_identity[0].object_id
}

## Cluster
resource "azurerm_kubernetes_cluster" "aks" {
  name                = local.aks_name
  location            = azurerm_resource_group.rg.location
  resource_group_name = azurerm_resource_group.rg.name
  dns_prefix          = local.aks_name
  sku_tier            = "Standard"

  default_node_pool {
    name       = "system"
    node_count = 3
    vm_size    = "Standard_D2s_v3"

    upgrade_settings {
      drain_timeout_in_minutes      = 0
      max_surge                     = "10%"
      node_soak_duration_in_minutes = 0
    }
  }

  identity {
    type         = "UserAssigned"
    identity_ids = [azurerm_user_assigned_identity.controlplane.id]
  }

  network_profile {
    network_plugin = "kubenet"
  }

  key_vault_secrets_provider {
    secret_rotation_enabled = true
  }

  web_app_routing {
    dns_zone_ids = [azurerm_dns_zone.domain.id]
  }

  depends_on = [azurerm_role_assignment.controlplane_resourcegroup_contributor]
}

## DNS
resource "azurerm_dns_zone" "domain" {
  name                = local.custom_dns_zone_name
  resource_group_name = azurerm_resource_group.rg.name
}
Local Variables:
- Defines key variables for AKS name, Key Vault name, resource group name, and custom DNS zone name. The Key Vault name must be unique.
Resource Group:
- Creates an Azure Resource Group called
rg-aks-addon-01in "Canada Central."
Key Vault:
- Sets up an Azure Key Vault for storing secrets, with disk encryption enabled and soft delete for 7 days. It also includes role assignments for administrative permissions.
User-Assigned Identity:
- Creates a managed identity for the AKS control plane.
Role Assignments:
- Grants the "Contributor" role for the resource group to the control plane identity, and assigns "DNS Zone Contributor" and "Key Vault Secrets User" roles for managing the web application routing identity.
Kubernetes Cluster:
- Deploys an AKS cluster named
aks-addon-01with a default node pool of 3Standard_D2s_v3nodes. Configures identity management, key vault secrets provider, and web application routing with DNS zones.
DNS Zone:
- Creates a DNS zone for
sometestcustomdomain.com.
providers.tf
terraform {
  required_providers {
    azurerm = {
      source  = "hashicorp/azurerm"
      version = ">=4.26.0"
    }
  }
}

provider "azurerm" {
  subscription_id = "" // update with your subscription ID
  features {
  }
}
- Specifies required providers (azurerm) with version constraint.
- Configures the Azure provider with the subscription ID (to be updated with your Azu subscription ID).
Deploy Infrastructure
Once everything is configured, initialize and deploy the solution:
terraform init
terraform apply
Step 2: Demo
To illustrate the ease of using the Application Routing Add-On, we will proceed through a hands-on demo. After the deployment is completed, we will have 2 resource groups created:

Figure 2: 2 resource groups are created.
MC_rg-aks-addon-01_aks-addon-01_canadacentral is the default resource group created by Azure Kubernetes Service, while rg-aks-addon-01 is the resource group we created from the Terraform configuration.

Figure 3: rg-aks-addon-01 resource group resources.
We have a DNS zone, an AKS cluster, a control plane identity, and a key vault.
1. Create a Self-Signed Certificate
To create the certificate, we will be following the manifests/policy.json can be found here in the Git Repository.
az keyvault certificate create --vault-name kv20250524 -n my-certificate -p @policy.json
This command creates a self-signed certificate stored in the Azure Key Vault named kv20250524. The certificate's properties are defined in the policy.json file, which includes details such as key size, validity, and auto-renewal settings.
2. Connect to AKS
az aks get-credentials --name aks-addon-01 --resource-group rg-aks-addon-01
This command retrieves the access credentials for your AKS cluster named aks-addon-01 within the resource group rg-aks-addon-01. This allows you to interact with your AKS cluster using kubectl.
3. Create a Namespace and Deploy a Test Application
kubectl create namespace aks-store
kubectl apply -f https://raw.githubusercontent.com/Azure-Samples/aks-store-demo/main/sample-manifests/docs/app-routing/aks-store-deployments-and-services.yaml -n aks-store
First, a new namespace called aks-store is created to organize your deployments. Next, a sample application is deployed in this namespace using a manifest YAML file from the specified GitHub repository.

Figure 4: Following output determines the successful application deployment for test Microsoft service.
4. Create an NGINX Ingress Controller
To create the Ingress Controller, we will follow the manifests/nginx-public.yaml, which can be found here in the Git Repository.
kubectl apply -f nginx-public.yaml -n aks-store
This command deploys a public NGINX ingress controller defined in the nginx-public.yaml configuration file.
NOTE: It takes some time for the Controller to get created. If it’s not creating, check the logs for the controller you created.
kubectl get pod -A
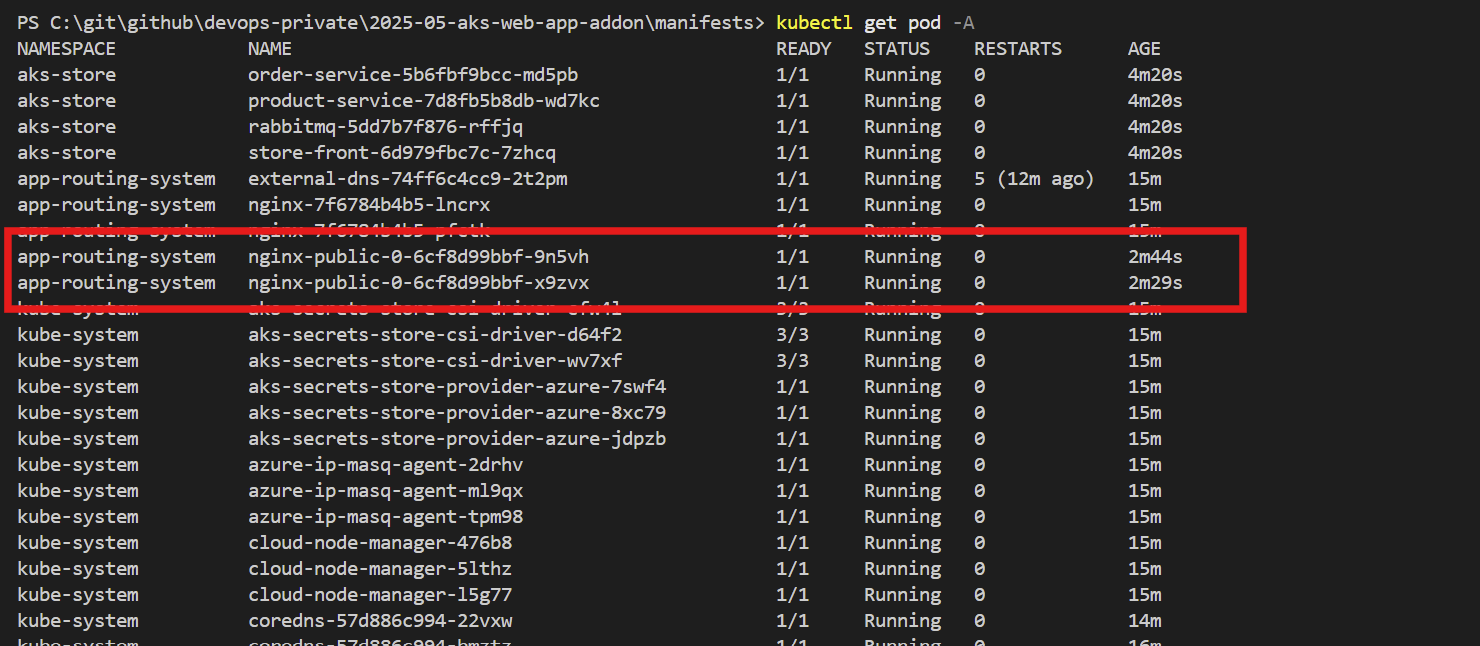
Figure 5: Retrive the log of pod using the name
5. Create an Ingress for the Test Application
To create the Ingress Controller, we will be following the manifests/ingress.yaml can be found here in the Git Repository.
kubectl apply -f ingress.yaml -n aks-store
This command applies the ingress configuration specified in ingress.yaml, which routes external traffic to your deployed test application within the aks-store namespace.
6. List All NGINX Ingress Controllers
kubectl get NginxIngressController
This command lists all the NGINX ingress controllers currently deployed in your AKS cluster, allowing you to verify that your controller is running correctly.

Figure 6: List of all NginxIngressController
7. Delete the Default NGINX Ingress Controller
kubectl delete NginxIngressController default
This command removes the default NGINX ingress controller that might have been created automatically by AKS, as it’s not needed if you're using the public ingress controller deployed earlier.
8. Update Hosts File for Public DNS
Since the application will be accessed using a public DNS (e.g., app.sometestcustomdomain.com), it is necessary to update your local machine's hosts file for testing purposes because I don't actually own a domain named sometestcustomdomain.com.
Here's how to do that:
1. Locate the Hosts File:
- The hosts file is located at:
C:\Windows\System32\drivers\etc\hosts
2. Open the Hosts File:
- Use a text editor with administrative privileges to open the hosts file.
3. Add an Entry to the Hosts File:
- Append the following line to the end of the hosts file:
<INGRESS_PUBLIC_IP> app.sometestcustomdomain.com
Replace <INGRESS_PUBLIC_IP> with the actual public IP address of your AKS ingress controller. You can find this IP by running:
kubectl get ingress -n aks-store
4. Save Changes:
- Save the hosts file and close the text editor.
9. Verification
- After updating the hosts file, open a web browser and navigate to
https://app.sometestcustomdomain.com. You should see your application loading if everything is set up correctly.
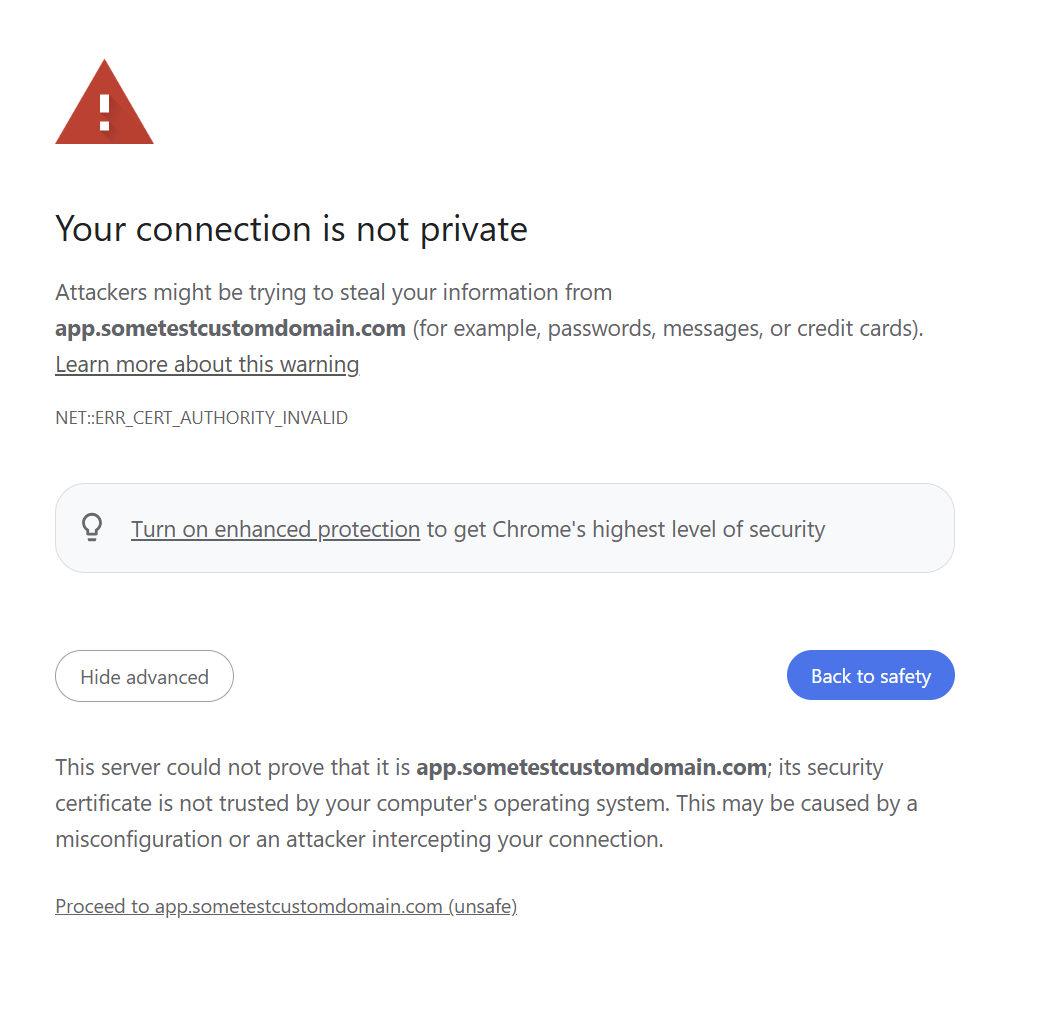
Figure 7: Certificated is self created so it is showed as insecured, proceed further.
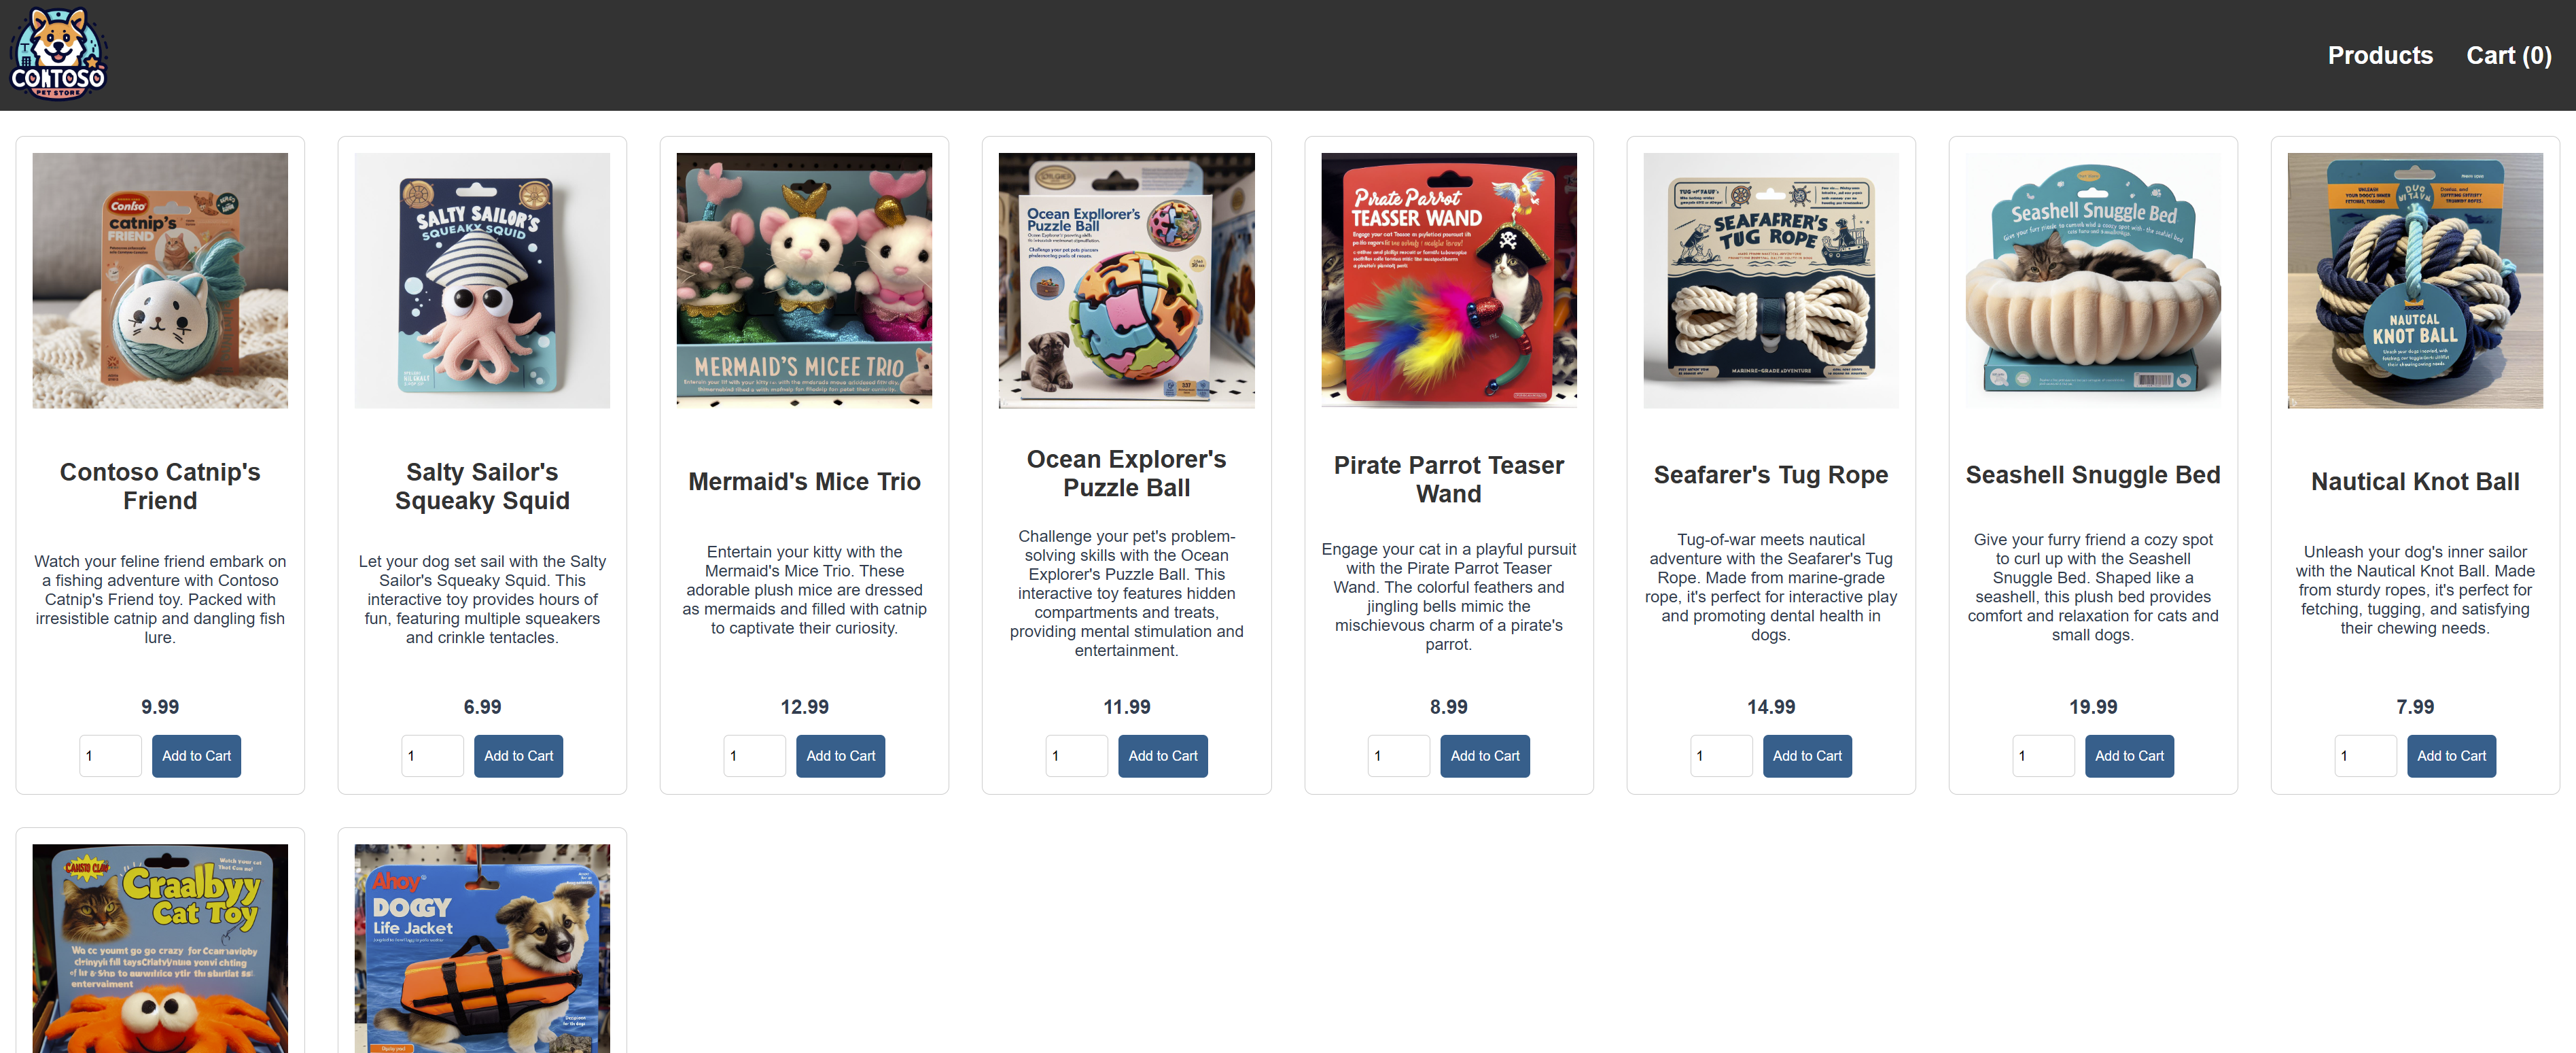
Figure 8: Azure demo application successfully deployed
Conclusion
In this article, we explored a simpler way to deploy web applications on Azure Kubernetes Service (AKS) using the Application Routing Add-On. This lets you skip the headaches of manually installing an NGINX Ingress Controller. We talked about the hassle of manual setups and how Azure’s managed services can make your life easier while boosting security.
We walked through some practical steps: creating a self-signed certificate, connecting to AKS, deploying a test application, and setting up an Ingress resource for smooth HTTPS traffic management, all while using Azure Key Vault for secure certificate storage.
By adopting this approach, DevOps teams can spend more time adding value to their applications instead of dealing with complicated ingress management. So, give these practices a shot in your own projects for a more efficient and secure AKS deployment!
References
Author